Tuesday 26 February 2008

More equipment

I got a zoom lens for the DSLR, and tried a few shots of th night sky with that. The results were not bad. These were taken from a tripod rather than a telescope mount so you can't do long exposures of the stars start to streak. Setting high ISO numbers and short exposures is the compromise.

Here is the Orion nebula taken.


and here is the Pleiades taken similarly.


and one with the shorter lens of the plough again


Then a couple of days later I tried the camera connected to the telescope again. I had it equatorially mounted and it seemed a little smoother. A number of the photos came out streaky though, so it was a question of picking the best to stack. So here is the orion nebula (M42) again looking a little better.


Its starting to look better. I'm not sure about the focusing though, and I'm not sure they are as straight as they could be. However the success story has to be the remote release I bought that connects to the laptop and the Delphinius software that allows you to setup a shooting schedule and go inside for a coffee while it takes and downloads 20 shots or more.

Wednesday 13 February 2008

The shuttle and the ISS

The shuttle docked with the ISS and made some passes overhead during reasonable seeing conditions. I managed to get some reasonable trails from this event, although really you wouldn't know what it was other than a bright spot. I didn't attempt to get a telescope on it, it was moving pretty fast, but did have a look with binoculars.
You can see it rising above a tree in this trail, although there is also a confusing contrail moving horizontally.

And here it is setting, going past Mars. Two images overlayed.

Friday 8 February 2008

How things stack up

I had attempted to stack a number of the orion images together - but ran into some lack of knowledge with my attempts to drive DeepSkyStacker. It was doing unspeakable things to my images and they looked far worse than when I started out the process.
After some discussions with the author I learnt a little more about using the program, and after some trial and error got something that was better than what I started out with.


Hurrah!

Thursday 7 February 2008

Wide sky pictures

I've been looking around for a while for a way to attach the camera on top of the telescope, and so allow photographs to be taken through the camera lens. This allows some wider field photography, where you can capture constellations and stuff. There were a couple of places that sell these sort of attachment for my telescope in the U.S., and some places in the UK but all out of stock. Also they seem reasonably expensive at about £80 or so.

So - when in a DIY shop yesterday, I spotted some velcro attachment straps. These are long enough to wrap about the main body of the telescope, and strap a small bendy tabletop tripod that came free with the camera onto the main tube. It looks like this:


So - I tried a little constellation photography.

This shows the effect of light pollution quite well! After a little cleaning up


I doubt it will win awards, but its a start!

Wednesday 6 February 2008

Getting more familiar

Tonight I thought I should push my comfort zone. I'd spent a happy afternoon a while ago playing with the remote controls on the autostar controller via a serial link to a laptop. It allows you to control all aspects remotely.

I'd also read a bit about polar aligning the telescope - this looked a little scary, not least because of the rather crazy angle everything ends up at. After having read through it a couple of times though, it didn't seem to be so scary, and practising a couple of times indoors in the light helps!

Anyway - after a few false starts outside - like finding the "home" position for polar alignment, it all came together. It was really quite easy. It looks a bit weird, but it works. I tried imaging Saturn as a test, and tried using the tracking option to keep the telescope centred on the planet. I'm not sure if it worked or not, it did seem to drift out of view, but it could be down to operator error.
The pictures of Saturn weren't any better than any I've taken before so I won't bother showing them.

Tuesday 5 February 2008

Deep Sky

I had tried out some deep sky images with my new camera, but was rather disappointed in the results. I know I shouldn't expect great results on the first try, but all the images showed some degree of movement of the stars. Either this was camera shake because of the action of the mirror moving, and me pressing the button (but I tried using the "hat" trick to avoid that and they were still there). Otherwise it could be the motors on the scope not tracking as accurately as I hoped.

Last night I decided to experiment, and tried the LPI, which was not designed for deep sky objects, on M42 in Orion. I was reasonably impressed with the results. With an exposure setting of just over a second, the results were quite good.

After a bit of post processing, the stars are obvious and there is even a bit of nebula glow.


Better than with the camera anyway.

Friday 1 February 2008

A new camera - and a clear night

My new camera arrived - a Canon EOS 400D. The good news about this is that it will do long exposures. It will do timed exposures up to 30s, and has a bulb setting for arbitrary times.

The bad news is it is quite a complex bit of kit, and will take some time to get to know how to use it.
The good news - its a clear night. The bad news - I'm not even sure how to switch on the camera, let alone use it.

Still - a clear night is not to be wasted, so I set up the equipment, and managed to get the camera attached to the back of the telescope with the appropriate adapters. Focusing was as difficult with this as with the LPI interface I soon found out. I also managed to confuse myself a number of times with the mirror setting. This allows you to either view from the top or straight through, but typically I'd find the right star with the normal eyepiece, then try and focus the camera and find it pitch black. Then it would tumble - I had to switch the mirrors over!

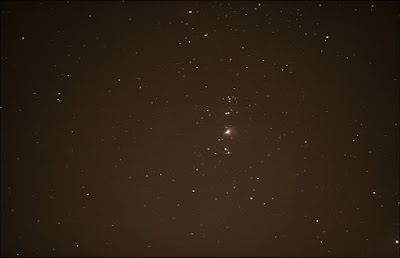
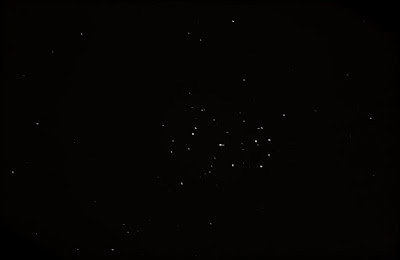
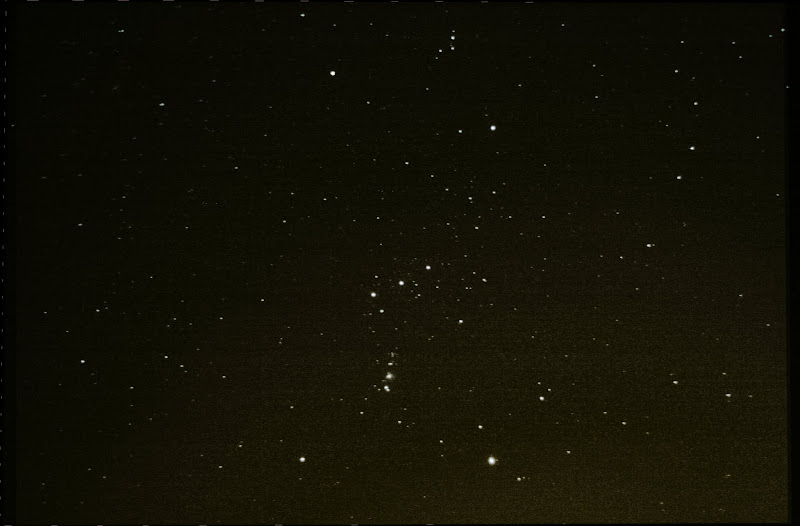
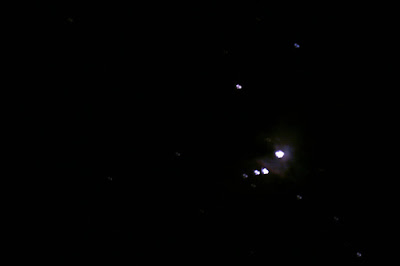
I tried some images of M42 and got some results, which is more than I'd ever done before. They weren't very good though. The wind was howling around and a number of roads had been closed to high sided vehicles, so it wasn't a good setting for long exposures. I also found that the mirror movement caused blurring and although I think there is a setting to disable that, I didn't know what it was. I reverted to the hat-trick - where you cover the lens, press the shutter, wait for a second for it to steady, then uncover the lens. I also covered it up towards the end of the shot for good measure. The wind continued to come in gusts though.

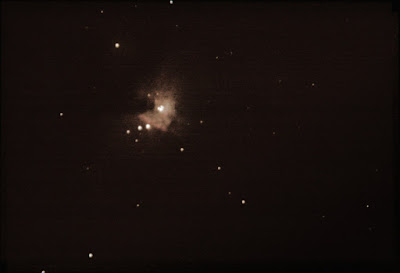
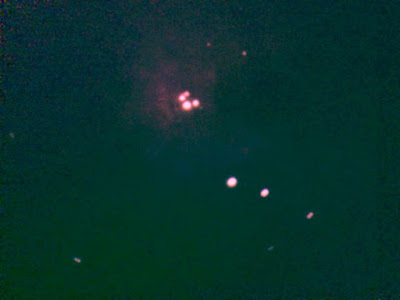
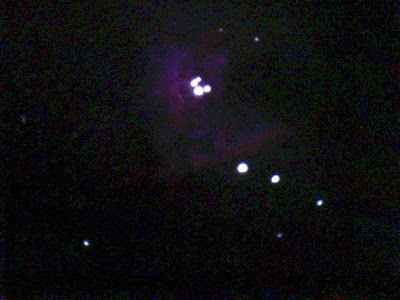
However with a bit of fiddling around on one of the better shots I go something that looked nebula-ish.


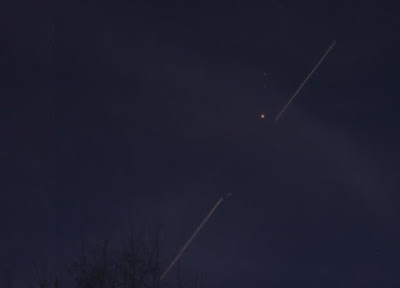
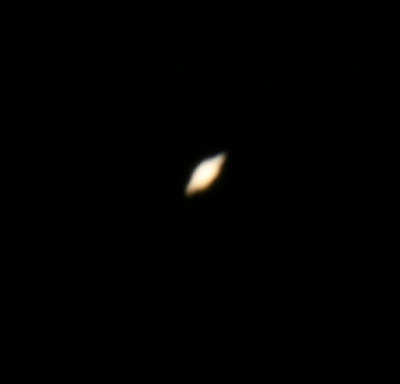
I tried Saturn too, but just guessed at the exposure, and it came out over exposed. I was getting very cold fingers by this time!


I then took some more images of Saturn with the LPI experimenting with the FITs save format, but couldn't get registax to accept them in any reasonable way.